7. Quick Start Guide
This chapter walks through the main path from a raw airfoil file to an exported mesh.
Start PyAero from the repository root:
python src/PyAero.py
8. Main Workflow
Load an airfoil contour.
Use the airfoil library page, the regular file dialog, or drag and drop a
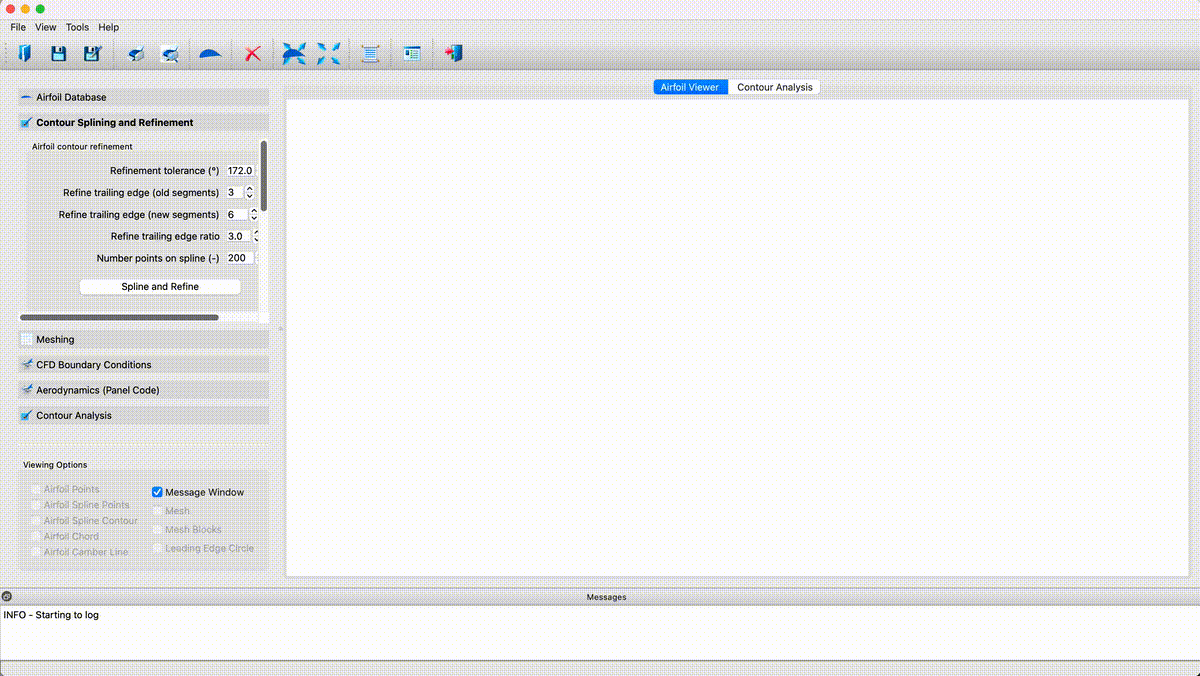
.dator.txtcontour into the application.Prepare the contour.
Open Geometry Prep, choose
CSTorB-spline (legacy), and click Prepare and Refine.Optionally add a finite-thickness trailing edge.
If the downstream mesh should resolve a blunt trailing edge, configure the blending parameters and click Add Trailing Edge.
Generate the mesh.
Open Mesh, adjust the block sizes if needed, and click Create Mesh.
Export the result.
In the Mesh Export section, choose one or more formats, define boundary names if needed, and click Export Mesh.
That is the complete primary workflow.
9. Quick Demo
The animation below still shows the overall sequence well even though the styling of the current interface has evolved.
The basic PyAero workflow from loaded contour to exported mesh.
10. Good Defaults
For a first run, the shipped defaults are a good baseline:
use the bundled default airfoil
keep the CST method selected
keep the default refinement settings
skip trailing-edge thickening unless you specifically need it
generate the mesh with the default block settings
export
SU2andVTUif you want one solver file and one visualization file
11. Next Steps
After you are comfortable with the basic path, continue with:
User Interface for the redesigned workflow shell
Loading Airfoils for library-based loading and importing
Splining and Refining Airfoil Contours for contour preparation details
Making Meshes for block controls, smoothing, and export